FREE TRIAL AVAILABLE NOW!FREE TRIAL AVAILABLE NOW!
CyberSnap Installation
1
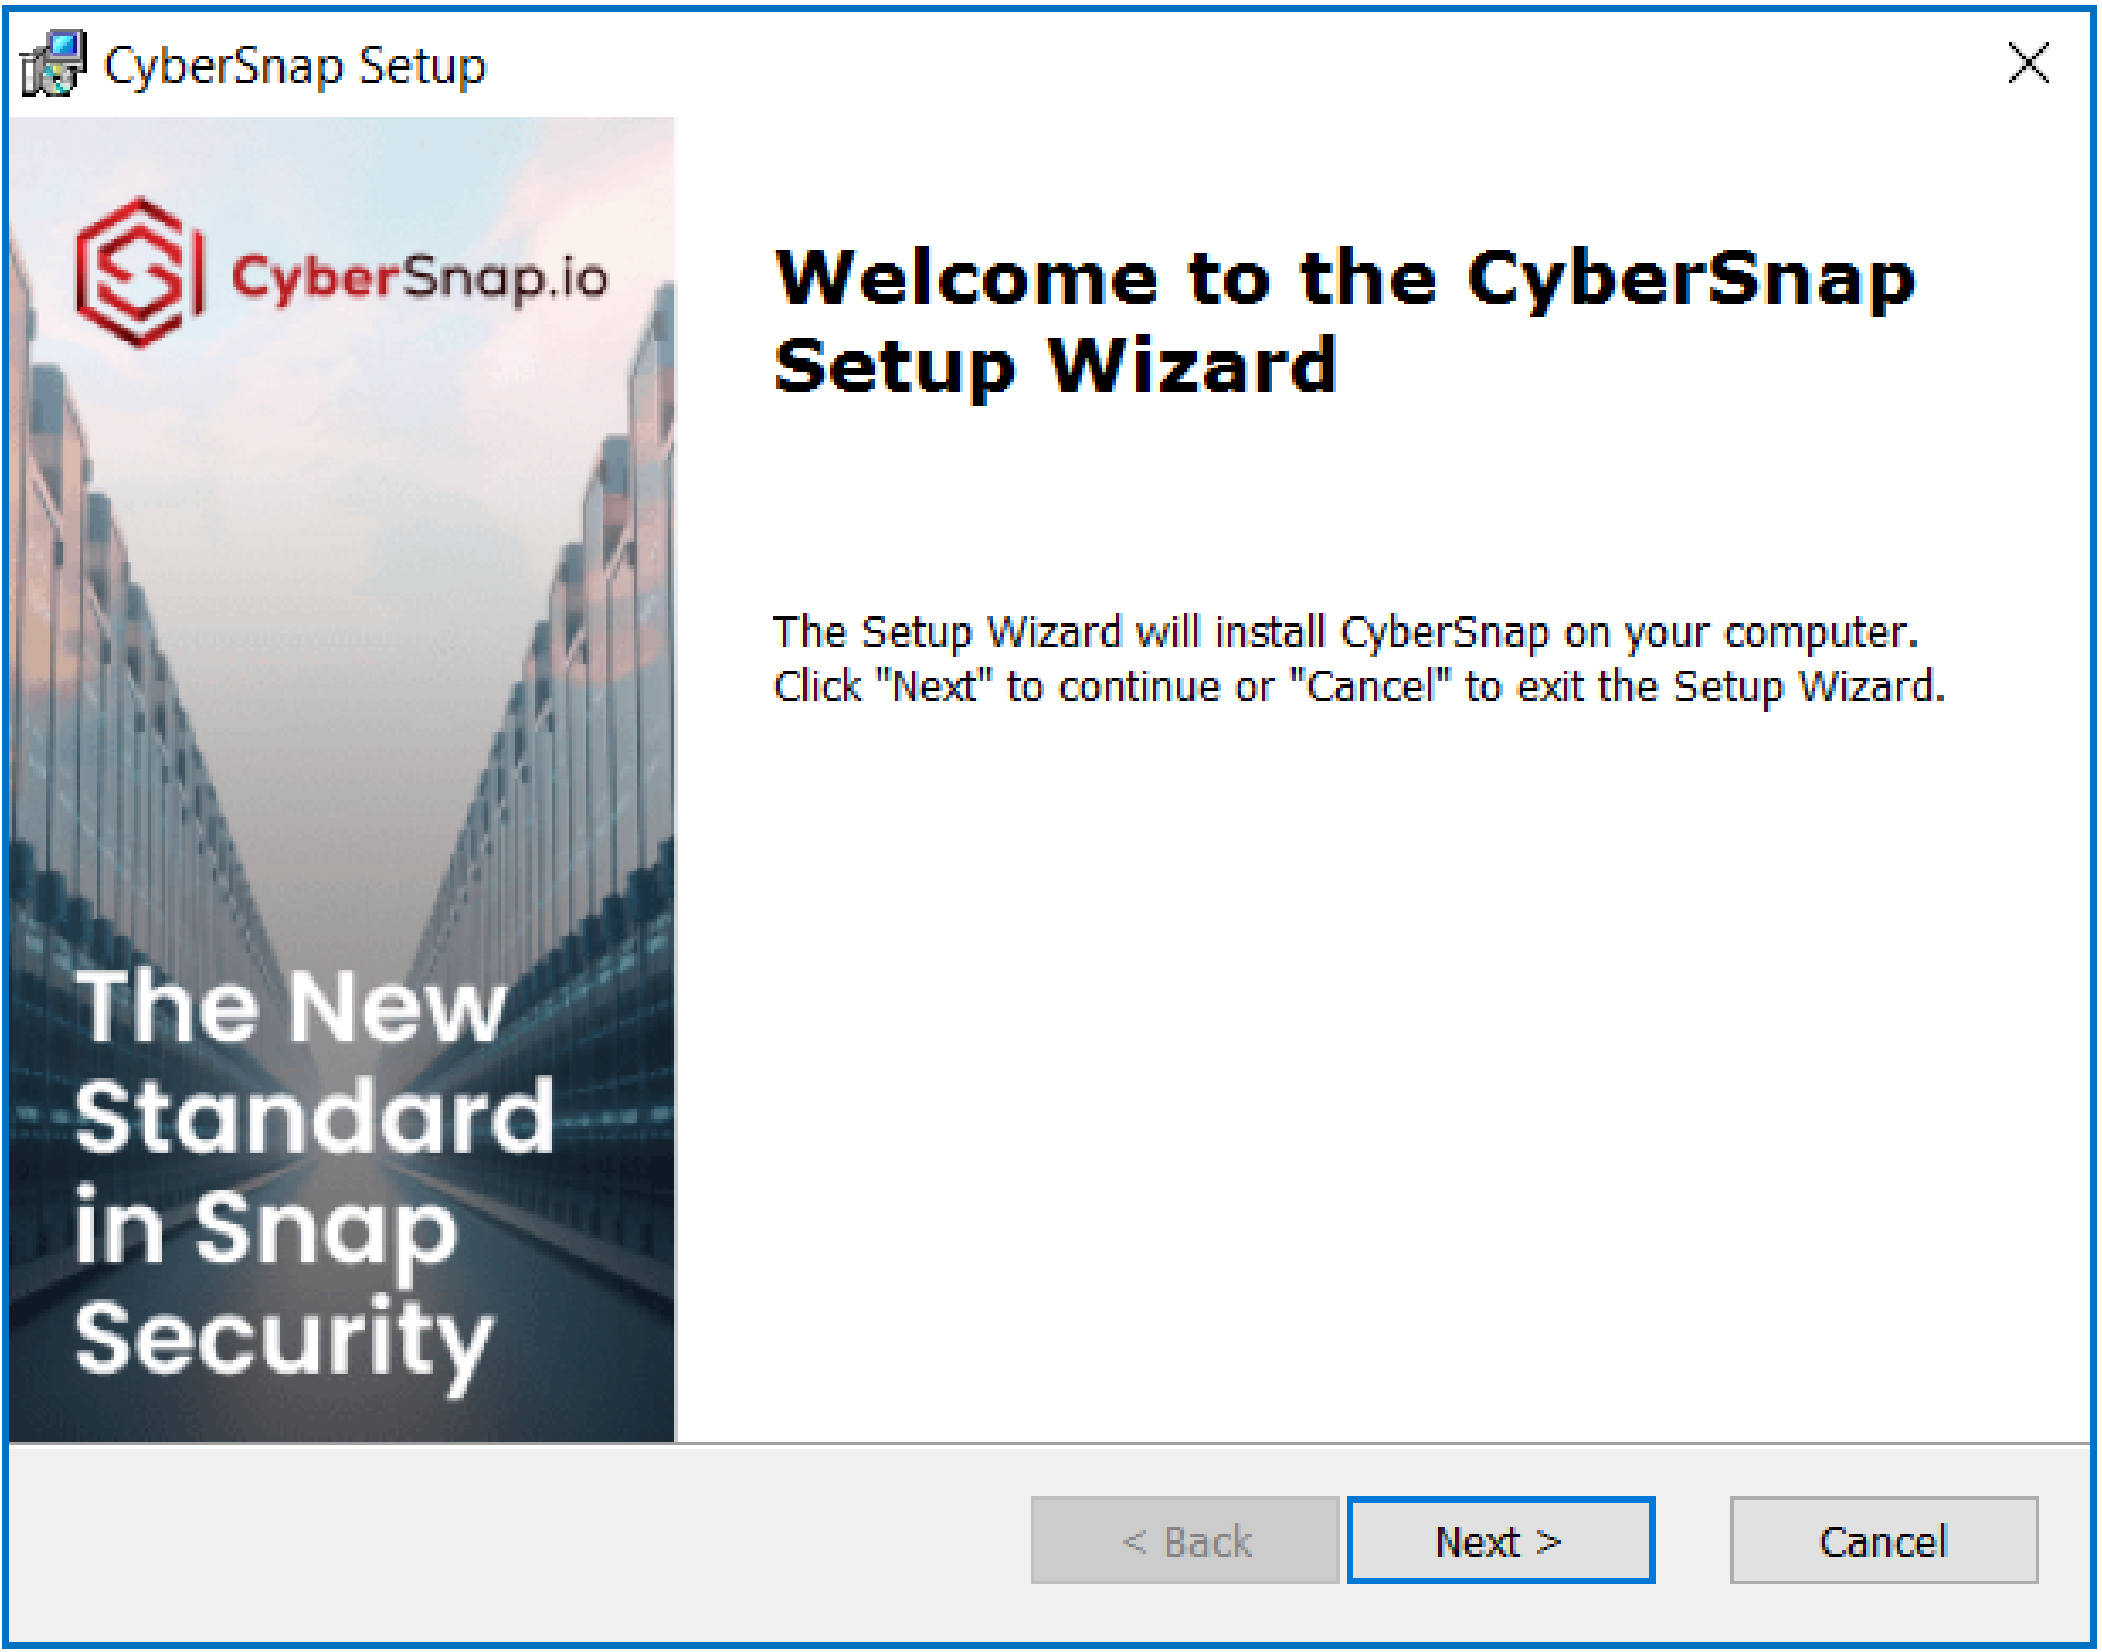
Log in to the CyberSnap server using an account with full administrative rights. Run the CyberSnap executable. If a warning window appears, click the ‘Run’ button. Upon doing so, a welcome screen will appear, click the ‘Next’ button.
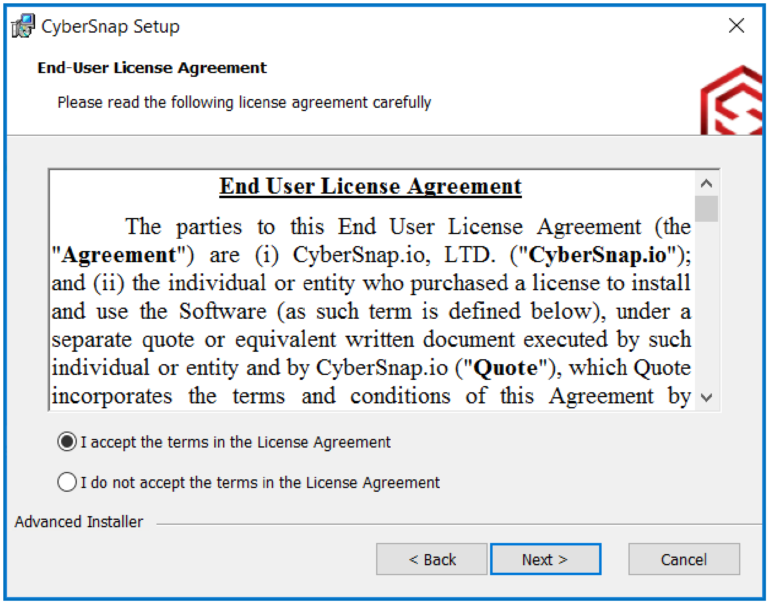
Review the License Agreement, select “I accept the terms in the License Agreement”, then click the ‘Next’ button.
2
3
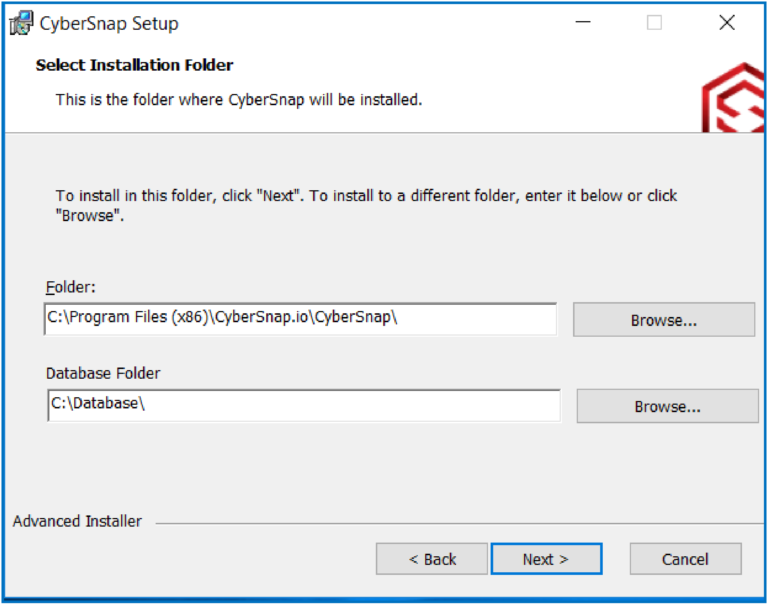
In the next screen, a pre-configured path for the CyberSnap setup and database will be displayed. Customize the path if necessary, then click the ‘Next’ button to continue.
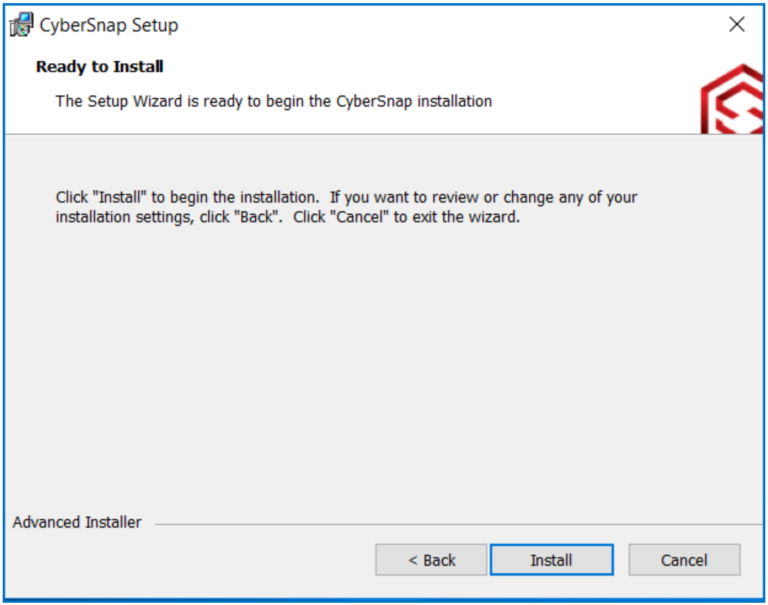
Click the ‘Install’ button and wait for the installation to complete. This may take a few minutes depending on the environment and components.
4
5
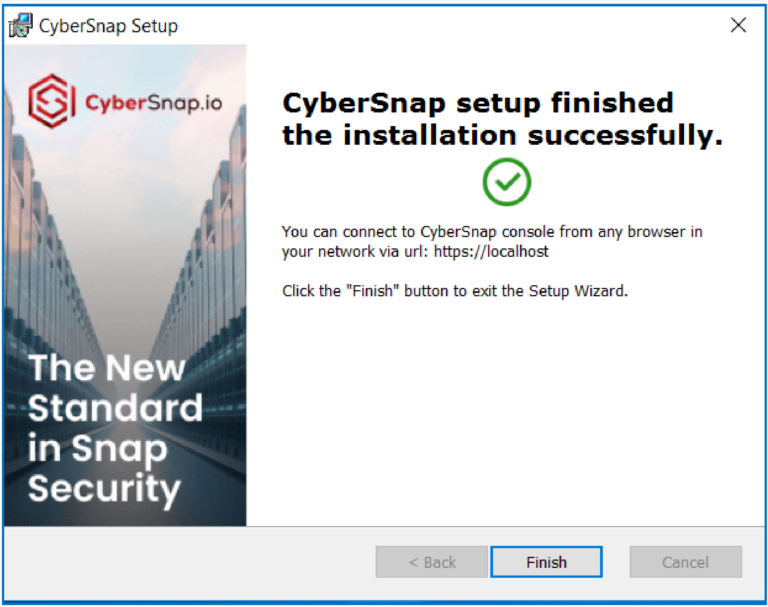
Upon completion, click the ‘Finish’ button to conclude the setup and proceed to the CyberSnap console. The default browser will launch, opening the registration form in CyberSnap.
CyberSnap Initial Configuration
1
Enter the desired username, specify the email address, and set a password meeting the complexity requirements. Click the ‘REGISTER’ button to validate the information.
2
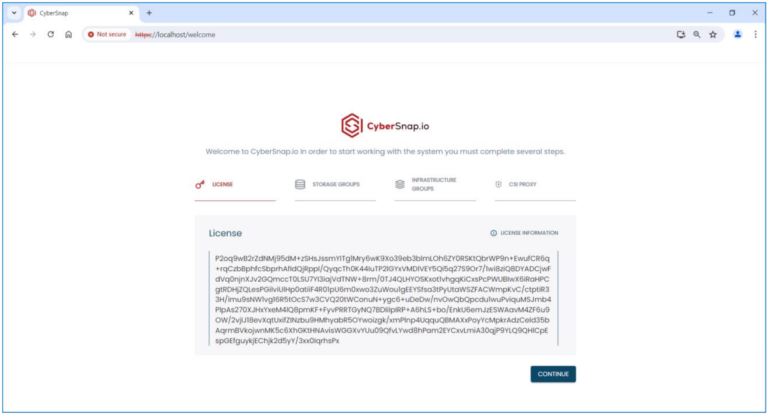
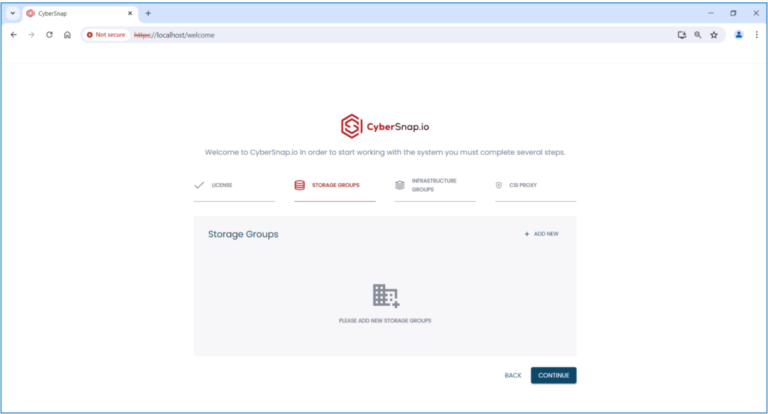
If all data is entered correctly, the CyberSnap web console will display the Welcome page. Enter the License key, and upon validation, the ‘Continue’ button will be enabled. Click ‘Continue’.
3
If all data is entered correctly, the CyberSnap web console will display the Welcome page. Enter the License key, and upon validation, the ‘Continue’ button will be enabled. Click ‘Continue’.
4
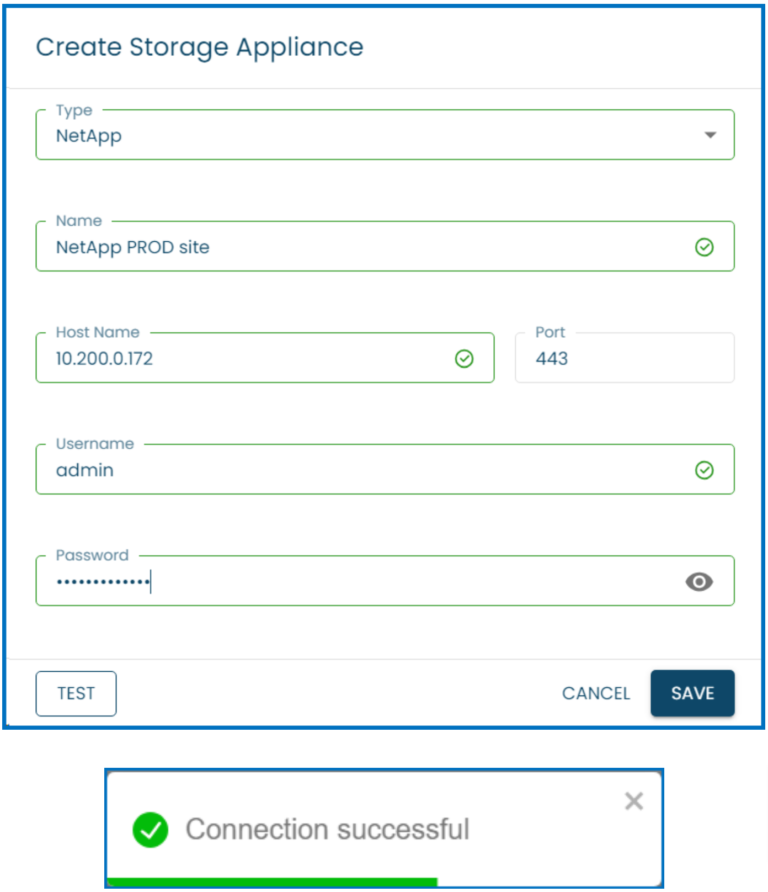
In the new window, select ‘NetApp’ as the Type, input a custom name, enter your NetApp storage IP address, specify port 443 (or enter a custom port number if necessary). Input the NetApp username and password, then click the ‘TEST’ button to validate the data. A green toast notification will confirm successful validation.
5
In the new window, select ‘NetApp’ as the Type, input a custom name, enter your NetApp storage IP address, specify port 443 (or enter a custom port number if necessary). Input the NetApp username and password, then click the ‘TEST’ button to validate the data. A green toast notification will confirm successful validation.
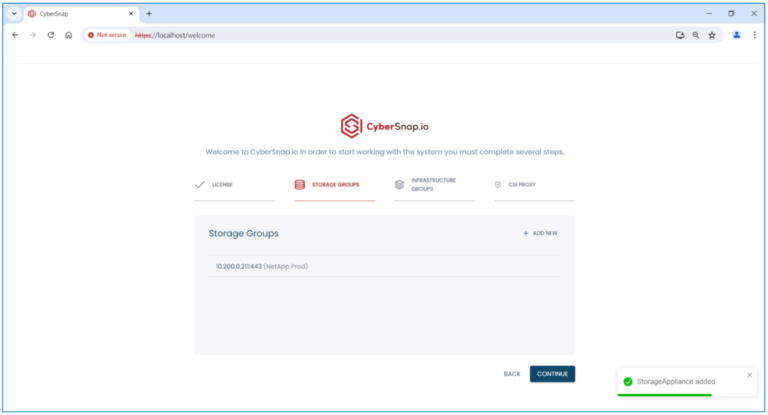
6
Click the ‘SAVE’ button. A toast notification will confirm the saved configuration. Your NetApp storage configuration will now appear in the ‘STORAGE GROUPS’ section of the Welcome page. Repeat these steps for additional NetApp storage configurations.
7
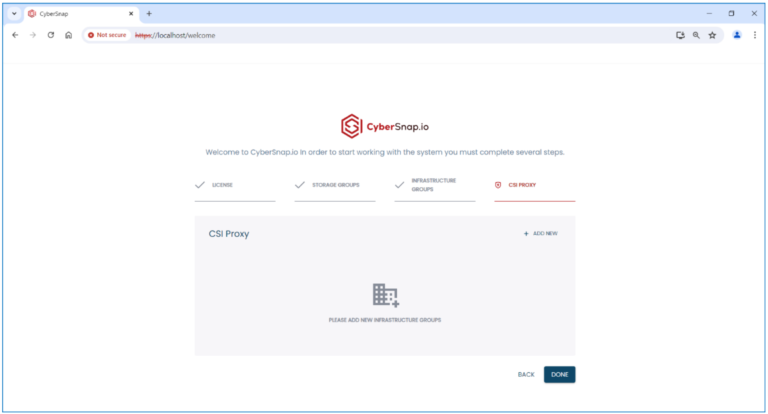
Click CONTINUE’ to configure the proxy server, then click ‘ADD NEW’ to add proxy server.
8
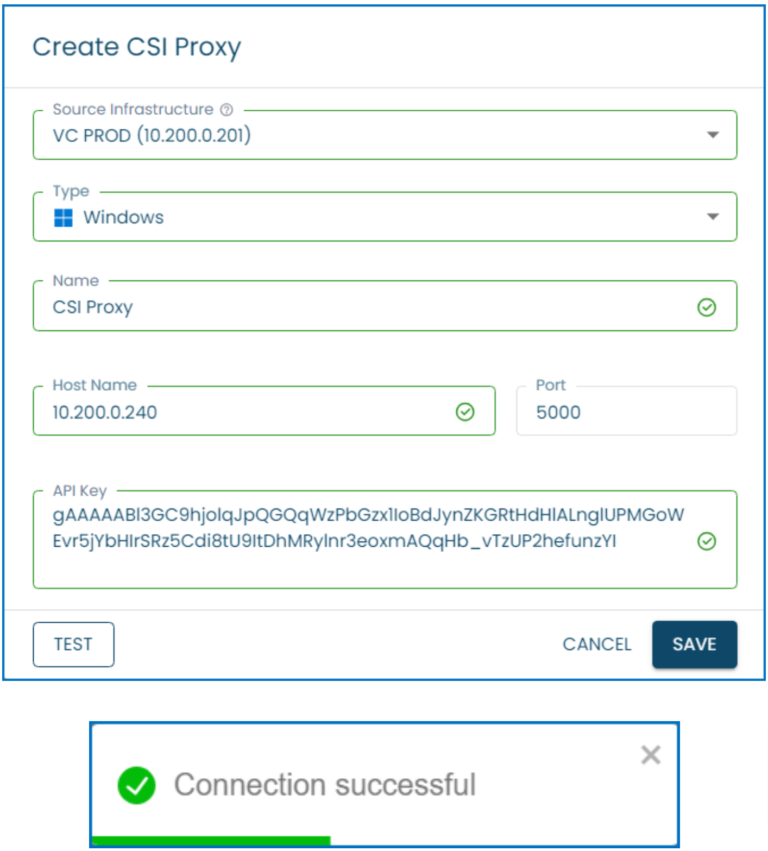
A new window will pop up, for the Source Infrastructure select VMware Virtual Center you registered in the previous step. Choose “Windows” as the Proxy type, enter a custom name for the proxy server, add the proxy server’s IP address while leaving the default port set to 5000. Enter the CSI Proxy API Key, then click the ‘TEST’ button to validate the data. A green toast notification will confirm successful validation.
9
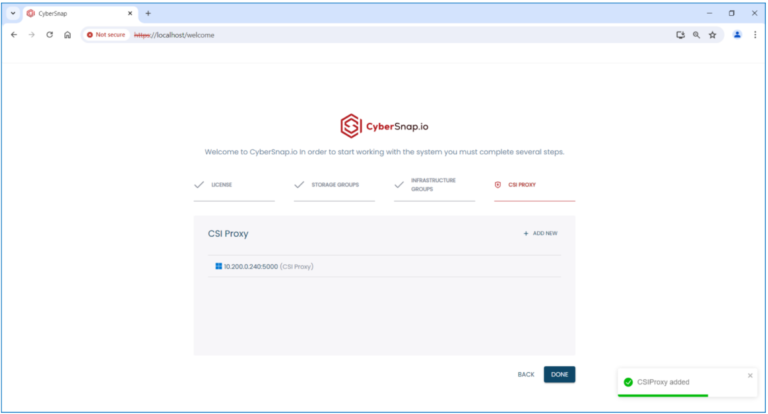
Click the ‘SAVE’ button. A toast notification will confirm the saved configuration. Your Proxy Server is now visible in the ‘CSI PROXY’ section on the Welcome page.